Showing posts with label play date. Show all posts

Sunday, October 2, 2016

Play Date: Construction

For September, I decided to do a construction themed play date - partly because my kid LOVES everything digger and construction, partly because I did a construction theme for his birthday and I could re-use some of the stuff.

Activities:

Sand & Digging
I was originally planning to have the kids play outside in our sand play area, but the weather didn't cooperate, so we were inside...with SAND! To keep things under control, I decided to try making kinetic sand.

Here is the recipe I used:
Kinetic Sand
5 c. play sand (you can get it at a local big box hardware store or from your sand box)
3 c. flour
1 c. oil (I used vegetable oil and I added another 1/4 cup)

For my purposes I made 2 of these recipes, put it in an old photo developing tray and mixed it up. When everything was mixed, I added some diggers and trucks, a couple of plastic spoons and forks, and a couple of plastic scoops. I also grabbed some rocks from outside and put them in bowls next to the sand.

Painting with Trucks
I put a few different colors of paint on a cookie sheet lined with foil and got a package of 5 small CAT construction machines at a local store. The kids rolled the construction vehicles in the paint and then on their papers.


Truck Wash
I put a few inches of water in a plastic bin and added a little bit of dish soap. The kids had (new) toothbrushes they could use to scrub their trucks. They love playing in water and bubbles, and this was a great way to wash hands and trucks after sand and paint. Of course a couple of kids attempted to brush their teeth!

Hammering Golf Tees
I got florist foam from a big craft store (cheaper than the styrofoam in the art section) and a package of golf tees. We already had a couple of plastic hammers for the kids to use. I started the foam blocks by lightly pushing some tees in. The kids mostly just pushed tees into the foam rather than hammering, but they really enjoyed doing so. And then they pulled them out and did it all again!

I also put out our other toys related to construction -
-trucks and diggers
-blocks (plastic Mega blocks and wooden building blocks)
-plastic tool box and workbench

Sunday, August 21, 2016

Play Date: Olympics


In an effort to socialize more and find a place to put my project energies, I decided to begin hosting monthly play dates for our local kids group. All of the kids in the play group are currently between 18-24ish months, so that is the target audience for the activities.


For our first play date, I decided to tag on to the 2016 Olympics and design an obstacle course and Olympic activities for the kids. After looking at many Pinterest examples of obstacle courses, I settled on creating something in doors (Texas heat and bugs). I am lucky enough to have a large open living area, so I enlisted my husband to build a couple of things and shift some furniture around.
Obstacle Course:
Hurdles - a pool noodle inserted on the cross bars of a couple of bar stools (but you could use dining room chairs)

Slalom - some cones set out (but you could use cups or plastic bottles)

Stepping stones - hubby made 4 "stones" by stacking pieces wood (cut to 8" x 8") to create different heights and screwing them together. He made 2 stones 1 piece high, 1 stone 2 pieces high, and 1 stone 3 pieces high. I stapled pieces of leftover "no-slip" rug padding on the bottom since we were using them on the wood floors.
Under or Over - a child size table placed in the pathway
Balance Beam - hubby cut down a 2x4 to a 4 ft length. He used the remaining pieces (2 1 ft lengths) to create feet for the beam by attaching them crossways underneath the beam. (Again I added rug padding to the bottom of the feet so it wouldn't slip around.) I placed it alone the back of our couch so the kids would hold on if they wanted to.

I also taped down a path for the kids to follow from obstacle to obstacle using blue painter's tape.

The kids did not run the whole obstacle course as a unit, but they did test out each element individually as they got comfortable with them. The balance beam was popular. The slalom cones did not stay put. I thought about taping them down, but decided the kids could play with them however they wanted.

Straw Javeline Throw:
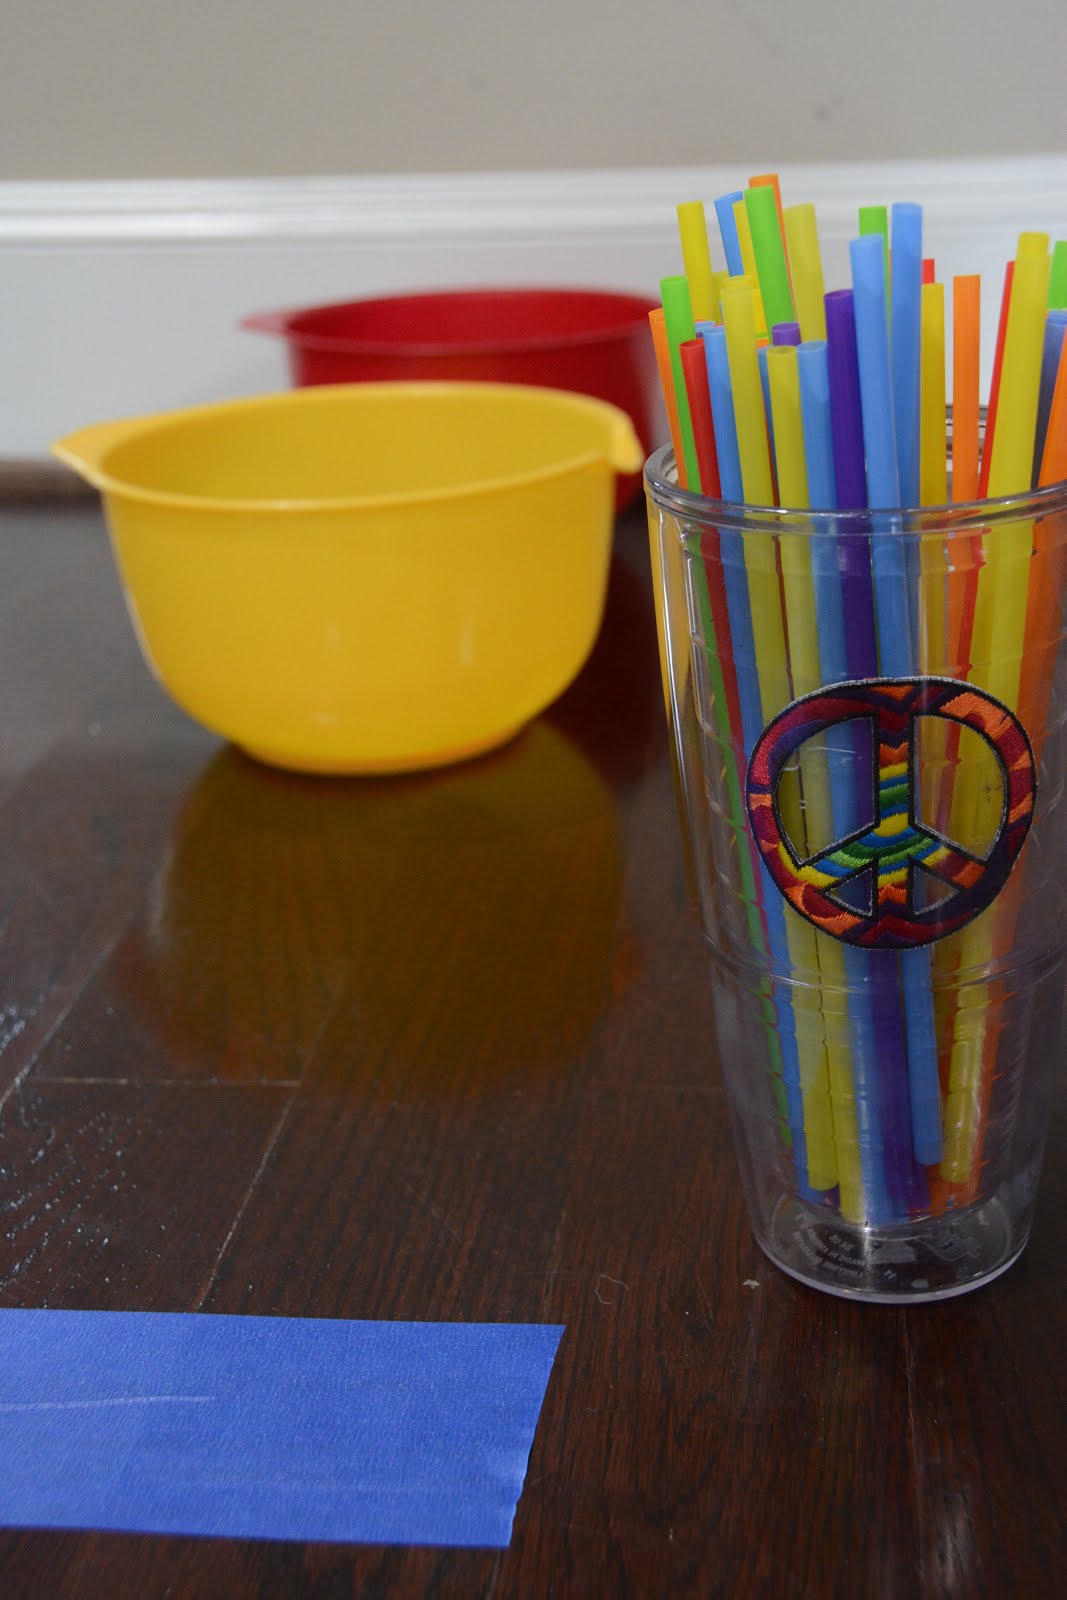
I got this idea from Toddler Approved. For our version, I put out a couple of large bowls and a cup with straws. Mostly the kids dumped and placed the straws, but they enjoyed playing with them. And they practiced fine motor skills when picking up the straws.


And being a recovering art teacher, I have to include an art activity...
Printing Olympic Rings:
The kids used toilet paper rolls to stamp circles in the colors of the Olympic rings. To try and keep the paint as clean as possible, I put each color in a separate cup of a foil muffin pan and put a single tube in each color.

Only a couple of kids chose to paint, but they had a great time moving the colors around the page.


For snacks, I had fruit in the colors of the Olympic rings as well as some locally made allergy free muffins.

And as a final touch, each child got to take home gold medal! They were easy to make. I got sticky back gold fun foam and some large ribbon. I cut 2 circles out for each medal and stuck them together back to back with the ends of the ribbon caught in the middle.